Door Frames: Measurement Tips for Accurate Ordering
Why Door Frame Measurement Decides the Whole Project
Most exterior door problems on a villa or custom home do not start with the leaf — they start with the opening. A frame that arrives 10 mm too wide cannot be shimmed into a masonry wall without cracking the plaster. A frame that is 15 mm too short leaves a gap that no amount of sealant will make weathertight. For owners, builders, architects and renovation contractors, the cost of a bad measurement is rarely the frame itself; it is the four to eight weeks of lead time, the rescheduling of trades, and the risk of a temporary board over an unsecured opening.
Exterior Door Frames also carry responsibilities that interior frames do not: they must resist wind load and forced entry, survive coastal salt air without rusting, stay dimensionally stable through temperature swings, and require almost no maintenance over decades. Add custom sizing, heavy cast panels, glazed sections and electronic locking, and the measurement process becomes a specification exercise rather than a simple tape-measure job. This guide covers the materials, structure and site steps that keep an order accurate the first time.
Core Materials and How They Set the Measurement Baseline
Most premium exterior frames are produced from 6063-T5 aluminium alloy, extruded and then powder coated or anodised. The material matters at the measuring stage for three reasons: it determines the minimum profile depth needed for the intended panel weight, it dictates how the frame is anchored to the substrate, and it moves with temperature. Aluminium expands by roughly 23 microns per metre per degree Celsius, so a 3 m wide opening can shift by around 1 mm across a 40 °C annual range — small, but enough to matter if clearances are already tight.
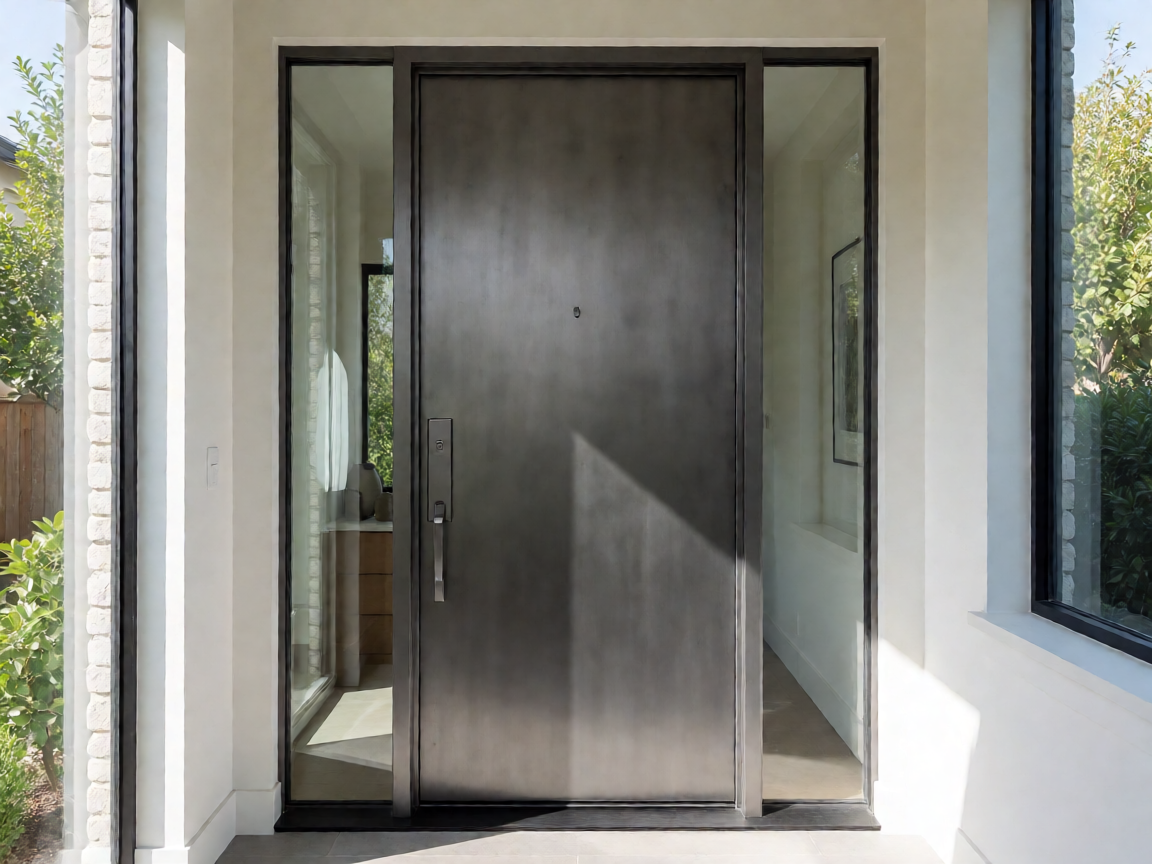
Cast aluminium villa door systems use the same alloy family for the frame but pair it with thicker, heavier panels. Steel frames are also available where the specification calls for higher impact resistance, but they need galvanising or a multi-coat finish to survive coastal environments. In every case, confirm the material and finish before you measure, because the finish thickness and fixing method change the required opening size.
Frame Structure and Specifications to Confirm Before Measuring
Each specification item below changes a dimension on your order form. Confirm them with the supplier first, then measure.
| Specification | What it refers to | Effect on ordering |
|---|---|---|
| Frame depth | Overall profile depth, front face to back face | Must match wall thickness plus internal and external finishes |
| Profile wall thickness | Metal thickness of the extrusion, commonly 1.8–2.2 mm | Affects weight, screw holding and anchor spacing |
| Panel or plate thickness | Thickness of the door leaf or cast panel | Determines rebate depth and hinge specification |
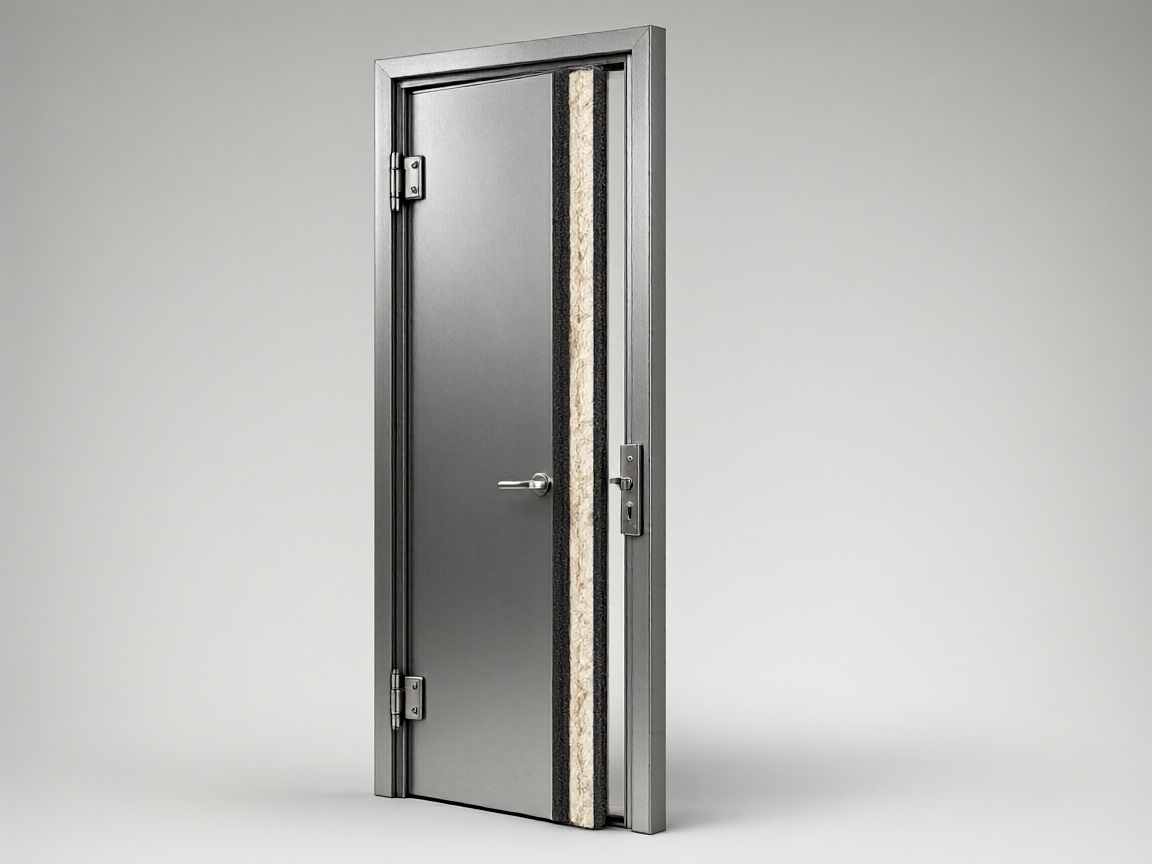
| Infill | Aluminum honeycomb filling, insulated core or solid cast | Changes leaf weight and wind-load rating |
| Glazing | Glass thickness and rebate for sidelights or a glass spliced exterior door | Adds width to the frame and depth to the rebate |
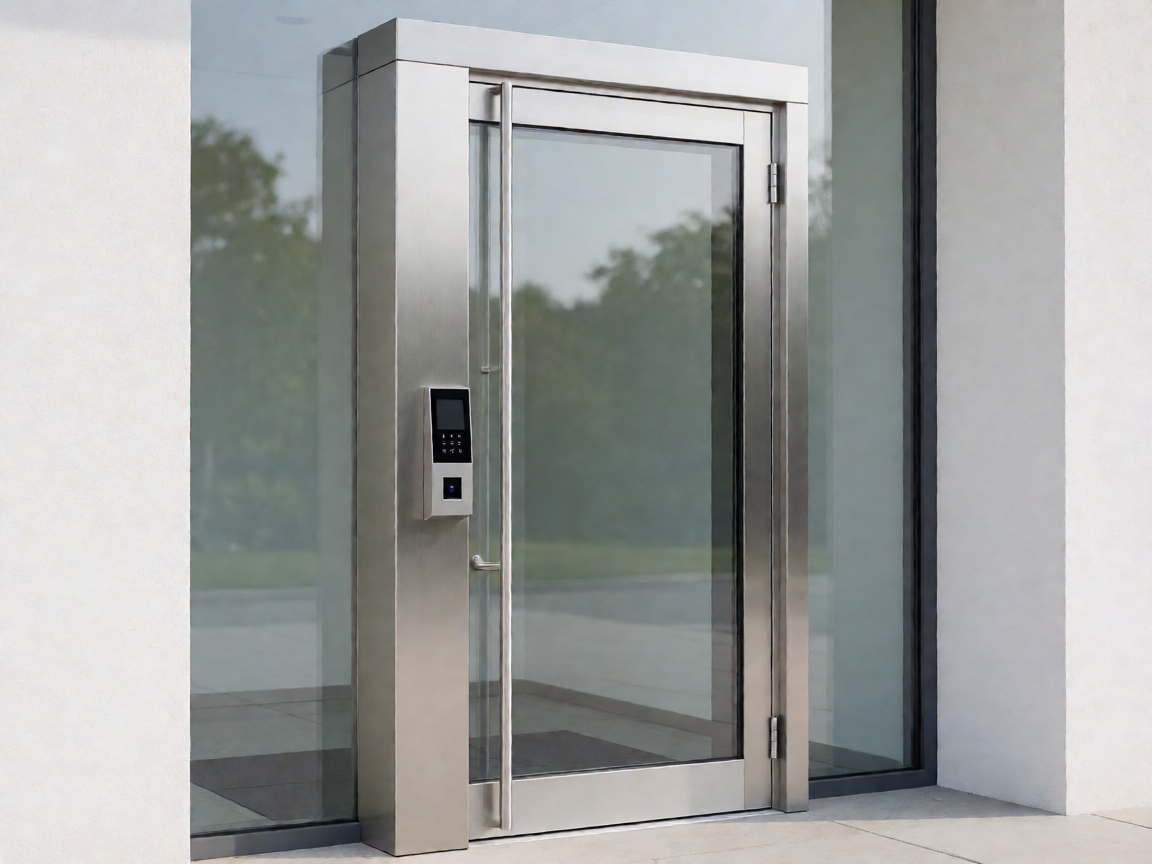
| Lock system | Multipoint mechanism or smart fingerprint lock | Requires a mortise pocket, cable route and lock-case clearance |
| Threshold / sill | Height above finished floor and drainage detail | Changes overall frame height and the base fixing |
Note the difference between frame size and structural opening. Manufacturers normally quote the frame's outside dimensions, while your site measurement is the rough opening. The gap between the two is your installation tolerance — typically 10–15 mm per side for shims, expanding foam and sealant, and more where the opening is out of square.
Key Advantages for Villa Exterior Applications
A correctly measured and specified frame delivers most of its value invisibly. Reinforced profiles with multipoint locking distribute impact across the whole frame rather than two hinge points, which is why they are standard on a custom aluminum courtyard gate or a cast aluminum villa door. Powder-coated and anodised finishes resist salt spray and UV without annual repainting, meeting the low-maintenance expectation of coastal and rural properties. Rigid aluminium frames also hold large glazed openings flat over time, so a glass spliced exterior door does not bind after a few seasons of thermal cycling. And because the frame is dimensionally stable, sealing and weatherproofing remain effective long after installation — which is the real measure of an exterior door.
Custom Options That Change Your Ordering Dimensions
- Finish and colour: powder coating adds only 60–80 microns, but two-tone or textured finishes may require a different gasket set — confirm before finalising the frame depth.
- Opening direction: inward or outward, left or right hand. Always specify handing as viewed from outside the building, and confirm whether the frame is handed or reversible.
- Smart fingerprint lock: requires a cable route through the frame or wall, plus clearance for the lock body and battery compartment. Confirm the route before wall finishes close up.
- LED decoration: integrated lighting needs a concealed channel and a power feed, which can add 10–20 mm to the frame width or depth.
- Transom or lintel: a transom adds height and brings a structural header into play. Measure the full opening including the transom, and confirm the header height separately.
Practical Measurement and Ordering Tips
- Measure the finished opening, not the bare structure. If render, stone cladding or tile is still to come, measure to the intended finished face and write the assumption on the order.
- Take width at three heights — top, middle and bottom — and use the smallest reading. Do the same for height at left, centre and right.
- Check the diagonals. On a square opening they should match within about 3 mm. A larger difference means the opening is racked and needs more clearance or correction.
- Verify plumb and level with a spirit level or laser, and note any deviation in millimetres on your sketch.
- Identify the substrate. Masonry, insulated concrete formwork and steel stud walls take different anchors, and the fixing method can affect the required frame depth.
- Record the threshold. Measure from the structural sill to the intended finished floor height, and confirm drainage fall for outward-opening doors.
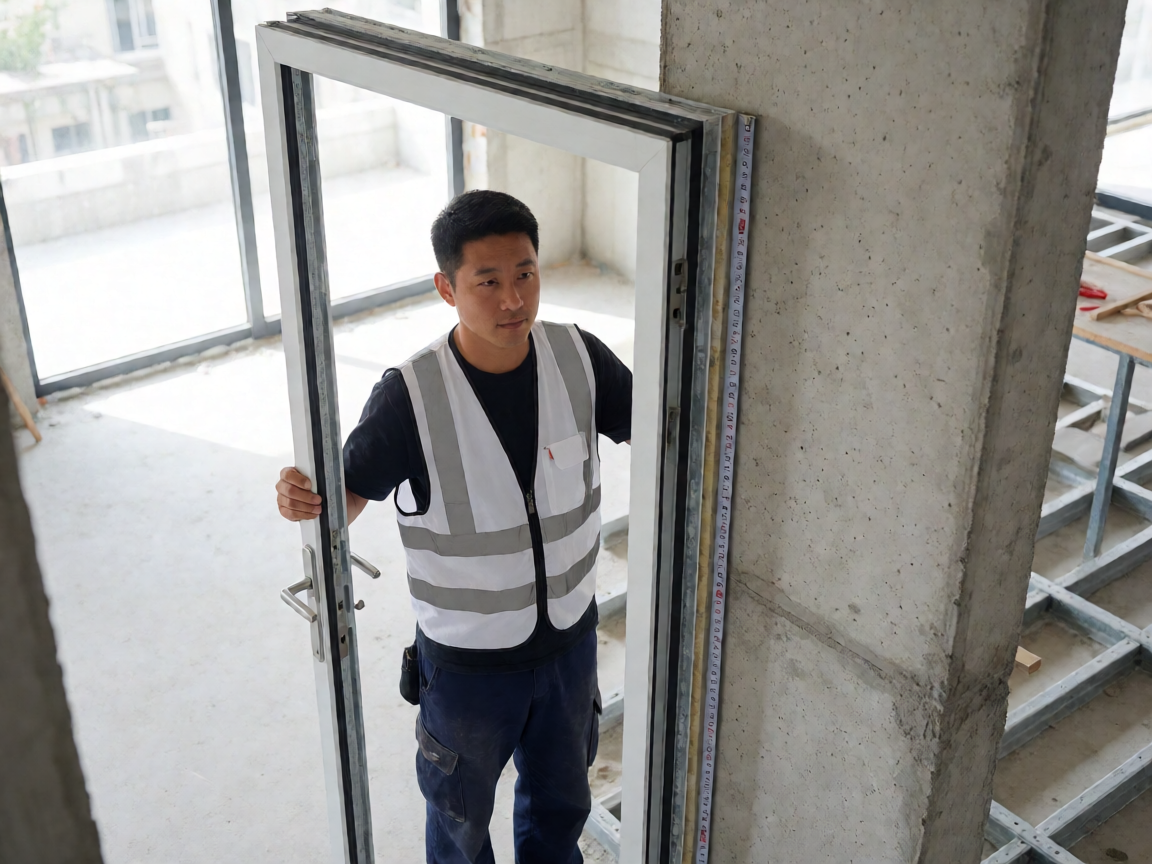
- Document everything. Photograph the opening with a tape in frame, add a simple dimensioned sketch, and state units in millimetres as width × height.
- Confirm the quotation. Check that frame size, rough opening, handing, glazing, lock type and transom are all listed — ambiguities here cause most re-orders.
Conclusion
Accurate ordering comes down to sequencing: confirm materials and specifications, measure the finished opening three times, document the tolerances, then check the quotation line by line against your sketch. Builders and architects who standardise this workflow across a project avoid the delays that come from resizing frames on site, and villa owners get an entrance that seals, secures and performs as specified for decades. If a dimension looks marginal, raise it with the supplier before the order is released — a five-minute conversation is far cheaper than a replacement frame.